Showing posts with label HBS Creatin Contest. Show all posts

February 10, 2018

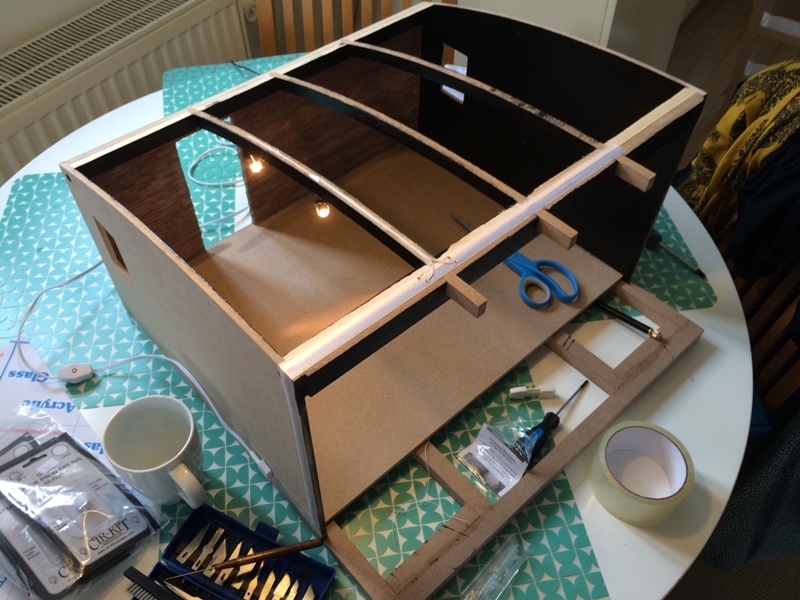
Initial drawings of the tattoo parlor

Each time I start a new project, one of the first things I do is to draw what I have in mind for the final project. This allows me to better focus on what needs to be done and I can decide from the start on what materials I will need. The easiest way to do this for me is to take the initial picture of the kit I'm going to work on and then to draw the basic outline in Inkscape on top of the picture. Once I'm done, I delete the original picture so that the outline remains. If I'm not going to use a kit, then I directly draw the project according to the measurements I chose.


At this point I'm ready to go. I often surf trough the web to get some ideas, such as what kind of door to create, or what the windows should look like and I collect all these little ideas by drawing them directly into the basic outline. I change the outline as needed while I draw. For this project, I decided not to change the kit much. I'm just going to add some pieces on the outside and merge the windows on the left side to allow a better view into the shop:


This is where you can be really creative, below is what I came up with. It's not yet there but it allows me to see what steps to take next. Generally, once I start working on the kit some of the initial ideas get replaced with others, but at least, this allows you a quick start.


Once I receive the kit (not yet in stock for international orders), I will also have a similar approach for the interior of the tattoo parlor. I will draw the ground 1:1 on a sheet so that I can decide about where to put which furniture. But more on that on another post. 

In the meantime, I received some awesome news and I can finally share it! My 2017 Creatin' Contest entry the "Writer's Retreat" has won an Honorable Mention! YAAAY! To be honest, this year, I was not expecting to win anything, as I was not 100% happy with my project. I wanted to do much more and did not have the time for it - this is also another reason why this year I will not change the new kit much; "more detail than size" is my motto this time. Nevertheless I'm extremely happy for the recognition and this is a great motivation to keep doing what I love the most. 

A Writer's Retreat - 1:12

Although only the honorable mentions are announced yet, it looks like a lot of great projects have been submitted again this year and I can't wait to see all the other entries! You can find them here.

Have a great weekend!
Hugs,
Susi

December 16, 2017

Almost Christmas! My Creatin' Contest 2017 Entry

It's that time of the year again where we get ready for new year's resolutions. From what I experienced in the last year, it's now official that:
- I do work too much
- I need more time for miniatures
- I need to catch up with blogs

So in 2018, I'll work towards that. Nevertheless, using every single free moment since May - with lots of patience from my husband's side - I was able to finish my latest miniature project and could send in the Creatin' Contest entry pictures on time! Woot woot!

I can't wait to see all the stunning projects that people have sent in. Here are some pictures from my entry: "A Writer's Retreat"...


In this living room lives a writer, who loves to write thrillers. She has decorated her house influenced by Moroccan architecture. She loves reading and has a wast collection of books. She spends hours getting lost in a new exciting story with a glass of red wine. Unfortunately she smokes also a lot, but at least there are big windows. (Ilona, your gorgeous Magnolias gave this scene the perfect touch, thanks!)


Wishing good luck to all entrants and have a great weekend!
Hugs,
Susi

January 30, 2016

2015 HBS Creatin Contest Results

I've been working very hard in the last couple of days/weeks even though I thought that there was going to be less work to do in January and maybe more time to work on some miniatures. So after many busy days without miniatures, I finally found yesterday evening some time to check some blogs and websites to see what's new, including the miniatures.com website, having in mind to buy the new contest kit for 2016 and curious about the HBS Contest Results. It was a huge surprise seeing this on their start-page:


There it was, the record shop... I can't tell how proud and thankful I am that the jury thought that my project deserved a first time entrant prize. This means so much to me, not only because this was my biggest project until today, but also because it was the first contest I ever participated in. I spent so much time on this project and I love every bit of it, seeing that others appreciate my work as well is so fulfilling. Thank you so much for that, and again for all of your kind comments on my previous posts.

Having received these great news, I was of course unable to sleep the entire night jumping around excited like a dog with two tails. It has been a hard day at work today as a consequence, having slept only 3 hours last night. To calm down a little, I started to put together some ideas for my next project and can't seem to decide what I will go for. I think I need some extra time to decide what topic to choose next, knowing that it will probably take another year to finish.

Until then, I wanted to share some pictures with you of recent items I bought/made:

I created some little cakes for Valentine's Day to test the frosting I have bought recently and it seems to work fine. I made some extra roses for the cakes and tried multiple versions until I chose to go with this design.


I bought some kitchen accessories from ELF Miniatures that I might use in my next project. I also bought a Miele Fridge, an ELF undercounter steel fridge freezer kit and an ELF modular hob kit which will allow me to design the kitchen counter the way I want it to look.


I'll be posting more in the coming weeks if I find some more time, until then have a wonderful day :)
Susi

January 10, 2016

Miniature Record Sleeve Tutorial

Finally some time to spend on minis again! I'm catching up with all the nice Christmas posts on other blogs as I've been traveling to see family during Christmas and New Year. All the traveling back and forth is rather exhausting compared to a relaxed weekend at home. Pff and I hate the laundry when coming back from a holiday, I'm not even talking about the ironing!

Yet, as promised, I did a little tutorial for the vinyl sleeves that you can see in my HBS contest entry. I did not have the thick glossy photo paper to print on though, that I had used previously. The one I used for this tutorial is less glossy and less thick, which makes the record sleeves look less real. I hope you will like it anyway...


I also ordered some new minis during last week and can't wait to receive them. I will share some pictures in the upcoming days. Let me know what you think about the tutorial or if you want me to make one for another item in my HBS entry.

I wish you all a cozy Sunday Evening...
Susi

December 16, 2015

My HBS Creatin Contest entry... here it is!

Arrgh I really had to convince myself to post my entry pictures after seeing all the phenomenal builds that participants made. Brae, Pepper, they did an amazing job. But yeah, I kind of promised it with my post yesterday, so here they are, my pictures...

"The Record Shop"

For my first contest ever, I decided to work on something that makes me happy and that I feel comfortable with. In my record shop I sell more than 1300 records (at least that's where I stopped counting!) and it's all new stuff. From Minimal to House, from Techno to Chillout, you will find all new releases in this little record shop. If you're lucky you might even find some really good records on sale. You can have a seat at the turntables on the left and take your time to choose your favorite records. 


Don't be disturbed by "Lazy" who is always sleeping at the back of the shop. If you want, you can select a magazine or a book about music production from the shelves at the back of the shop. We also sell some really cool T-Shirts (Fire extinguisher and wall phone are from Delph Miniatures, the folding chair is from Miniatures.com, I don't remember where the green bottle is from though, the rest is made by me - even the door that I had to create in size for the brick wall). 

In the next two pictures you can see the shop from the outside - I had to use Gimp for these, as I did not have the time to find a fitting dark background. Also with the bad weather we had lately, the light was just not enough outside. The hardest and most time consuming work for me was to create the sidewalk out of the mdf plates. For this I used the tutorials of Lazy Forger.


I placed most of the items that I bought at the cashier area. The little bonsai and the open bag of chips are from LugartPetit, the computer is from Lilu Miniature, the wireless phone is from Miniatures.com, the cash register and the CD racks are from Delph Miniatures. Speakers, framed vinyls, wall accessories other than the phone are made by me.

I really like how the security camera located outside of the shop turned out, I simply used polymer clay for it. The wheelie bin and the mp3 player are from Delph Miniatures as well.


Ahh voila, it's done and sent. I hope you like it. I can finally get some rest now and get to sleep without thinking what else I need to do on this project - except, of course, I already started thinking about the next project... >.<

December 15, 2015

1 more day to go...

I don't know how other participants of this year's HBS Creatin' Contest are staying patient until the deadline, but I really can't wait anymore to see all the creative projects that are waiting to be discovered. I've been seriously investigating on the internet for the last couple of days to see if I can find any updates from participants, but could see only limited posts and pictures.

There is one project though that is absolutely stunning and I just have to mention it... of course I'm talking about Mitchy Moo Miniature's build. I'm just flabbergasted by Pepper's talent and can't get enough of looking at the pictures she posted on her blog. I think she's not taking part at the contest though, as I remember having read that the kit was gifted to her, yet for me she already won this year's contest.

To increase the suspense, I decided to post some pictures as well :) Yes, that's evil, I know. So all started with the base of the kit... That's been so long ago already, I think I started around April.


Then I made a LOT of drawings, calculations and material planning until I knew approximately how I would proceed with the special furniture. Some parts were too special so I had to create them digitally and order laser cut versions. Slowly decoration pieces came together as well. Many are made by myself, but I had to include a few others as well, such as the open bag of chips from LugartPetit.


The dog was Lazy as usual. Even when I was doing the brick wall, placing one brick after the other for hours, he did not move. At that point I was puzzled about how best to remove the excess of mortar as it was my first brick wall, but I figured very quickly that it's actually pretty easy with a damp cloth and a brush once all dried.


It was also pretty messy at the beginning, especially the space it took was more than I had expected. Then I started with the wiring of the house and had a pretty clear idea how to continue... So this was a little sneak-peek to my entry but more will come as soon as the deadline is over.


Looking back now I can't believe how much fun this has been for me since the beginning, this also being my first entry to a miniature contest ever. I wish everybody good luck with their project and think that it was worth participating even just for the fun of it.

October 11, 2015

Tutorial - Miniature Headphones

Hi everybody! This has been a very busy week for me, as will be the upcoming week I guess. I'll be traveling abroad for work, so I won't have much time to write during the week. I already feel tired and the cold weather wave that hit the city yesterday, made the hot water bottle my best friend today!

I'm still trying to finish a couple of things on my HBS Creatin' Contest entry but I'll do most of the remaining things next weekend as it involves spray painting and it's cold outside. So I try to do little projects here and there when I find some time. For so long, I wanted to make some headphones inspired mainly by Nunu's House's Headphones and the other blue headphones below.


TUTORIAL - Miniature Headphones

To start with, I chose 2 colors of fimo, black and Indian red (which in the pictures looks more like pink). You don't really need any other thing than that. The only thing you'll need is a kind of a thin cord for the cable.


1) To give the headphones' upper part a round shape, you will need a round object that you can put into the oven. I found it easy to use a glass jar with a diameter of 1,6cm (0.63 inch).

2) Roll your black polymer clay into a 2mm (0.08inch) wide cane.

3) Press lightly and roll the jar on your working mat so that it gets flatter, approximately a millimeter. You do not need the two ends of the can so you don't need to make a complete round.

4) Cut off both ends of the cane, make sure that more than half of the bottle is covered, the edges should be long enough to curve again to the interior. Once you cut off the edges, divide the main body into two equal lines, which should stay connected for approximately half a cm at the edges. Put the glass into the oven when it's still cold (if you put the bottle into the preheated oven, it may break due to the sudden heat increase). Only then turn the oven on and bake it at the recommended heat for your polymer clay for about 15 minutes.


5) Once the main body cools down, take it off the bottle and add to each line, some clay (in your secondary choice of color) to make some sort of padding for the upper side of the headphones. I made little lines on the side of these to give them a more realistic look. As the cooked piece will be very smooth due to the fact that it was baked on glass, the extra clay may not stick well. I used some instant glue to fix the fresh clay to the main body. Bake this piece for another 25 minutes.

6) Using a cutting tool, make two circle pieces of approximately 1 cm of diameter, and two circles that are slightly smaller. These 4 pieces should be very fine, the ones I made are roughly thinner than 1mm. Also make 2 rectangular pieces which may be a little thicker approximately 0.5 x 0.2 mm. Bake these.

7) Glue the rectangular pieces on the both outer ends of the head piece.


 8) With your cutting tool, cut out again 1 cm wide round pieces of your second clay, which should be a little thicker than 2mm.

9) Shape these in form of ear pads with a hole in the middle. As before, I made lines and cracks on the sides as well as on the body to give it a more realistic effect. These pats should be flattened a little so that they become slightly larger than the black circles that were prepared previously.

10) Glue the smaller circle on top of the bigger one, then the ear pad on the other side of the bigger circle. I used instant glue for this again, please note that instant glue sticks extremely fast with polymer clay, so that once you put your pieces onto each other, you won't be able to move them much further to replace them. Keep calm and try to fit these in one shot :)

11) Once the ear pieces are ready as well, glue the ear pads onto the upper piece onto the edge of the rectangular pieces you previously had glued.


12) You're almost there, but you still want your headphones to look technically accurate, therefore they need a cable. I used some electrical wire that I usually use to wire a dollhouse by dividing it into two. As my wire was white, I painted it into black with some black aquarel color. I preferred to use an electrical wire, as I was able to cut of the end of the cable, to make it look like a jack.

13) With a needle tool, try to open a little hole between the black circles and the ear pad where you can squeeze the cable in. Put some instant glue onto the end of the cable and glue it in the little hole you made.

14) VoilĂ ! You're done, your very own miniature headphone is ready to rock your ears!

Let me know if you have any ideas how it could be made better. I hope you enjoy :)   - Susi

October 4, 2015

Ok, let's get started!

I have no clue what kind of trouble I put myself in by creating this blog. My name is Susi and I live in the Netherlands. For years I've been creating miniatures in my spare time at home, but I just can't get enough of it. I keep doing new things, and this blog is now part of it. I want to share my passion with all of those who want to listen.

Until now, I kept most of my minis for myself and my husband, who so patiently lets me use a lot of space in our home. I also created a little Etsy shop, which right now is closed as I'm getting ready for the HBS Creatin' Contest for this December (contest info) - my first entry to a miniature competition ever! Because of my work, I just can't find enough time to do all of it, if only days were longer and I had more hours to spend on miniatures :)

I think it's because of the contest that I ended up creating this blog, as I kept going through all the amazing blogs where people write about the contest, or received the kit and share their creations that have inspired me so much. For this year's contest I picked a pretty modern theme, and I am only halfway through. I can just say that I wasn't able to find anything similar done and hope that it will stand out. I can't tell you how much fun I have creating it, it's really not about winning, but about the satisfaction you feel when you look at what you have created at the end of the day. I don't want to give any spoilers at the moment, I will be sharing my entry to the contest in December in another post.

So let's talk about other things, for instance, it's "Oktoberfest" right now in Germany and this reminds me a set that I had sold on my Etsy shop a year ago. I remember it so well, because the person to whom I sold it, sent me back a hilarious picture, where dinosaurs had an Oktoberfest. I think this is the best part of sharing your work with others, so much good things are coming back to you.

This is the set that I had sold.

This is the picture I received from Whoodith.

Here is the texture I used for the table mats.


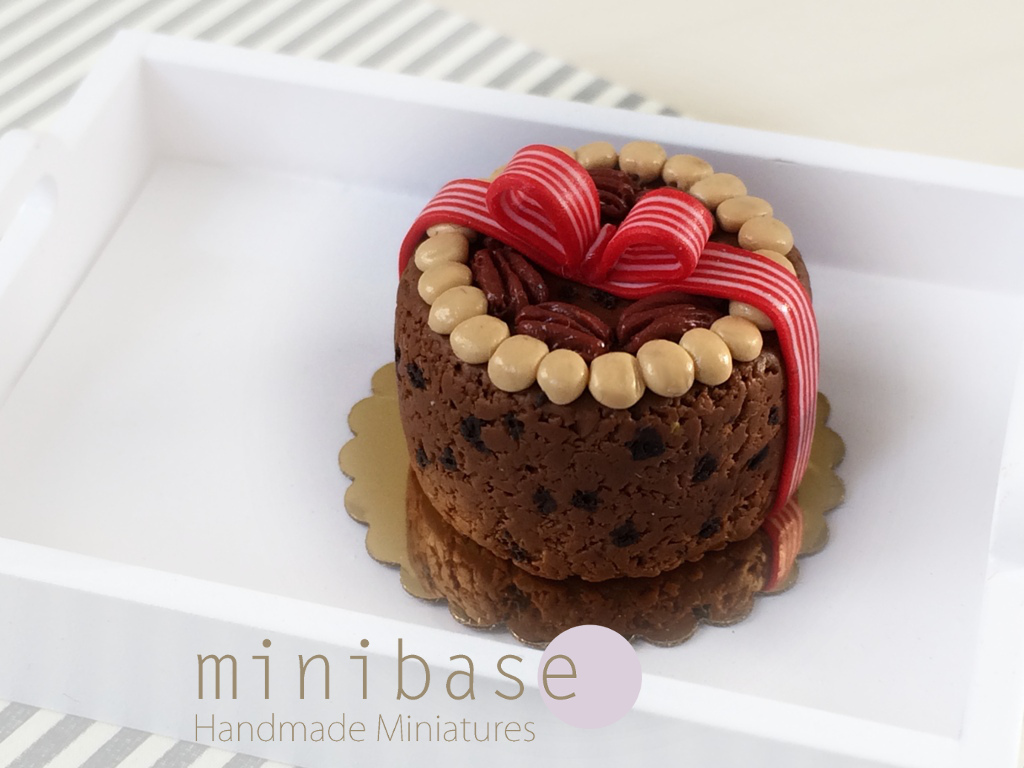
I really enjoy doing cakes or bakery in general and I'm sure that at some point I will be doing a tutorial about it. Below are some cakes that I had created for my shop, let me know if you would like me to create a tutorial for any of these.


When I'm not doing any cakes, I'm mostly creating modern miniatures. I really want them to look as real as possible. 


I like to use all kinds of materials as long as the results are looking good. It is crazy though how much material gets collected with time. It takes so much place to put all your tools, wooden pieces, papers, textures, colors, fimos, resin, glazes, glues, brushes, scissors, cutters, cutting mats, magazines, textiles... OMG the list is never-ending and you still  will not have enough materials when it comes to creating this little miniature you are working on...

Again welcome to my new blog!